Project at a Glance
Sq Ft Living Area
Clean Water Loss
MC Stabilized
Pack-Out Protected
Executive Summary
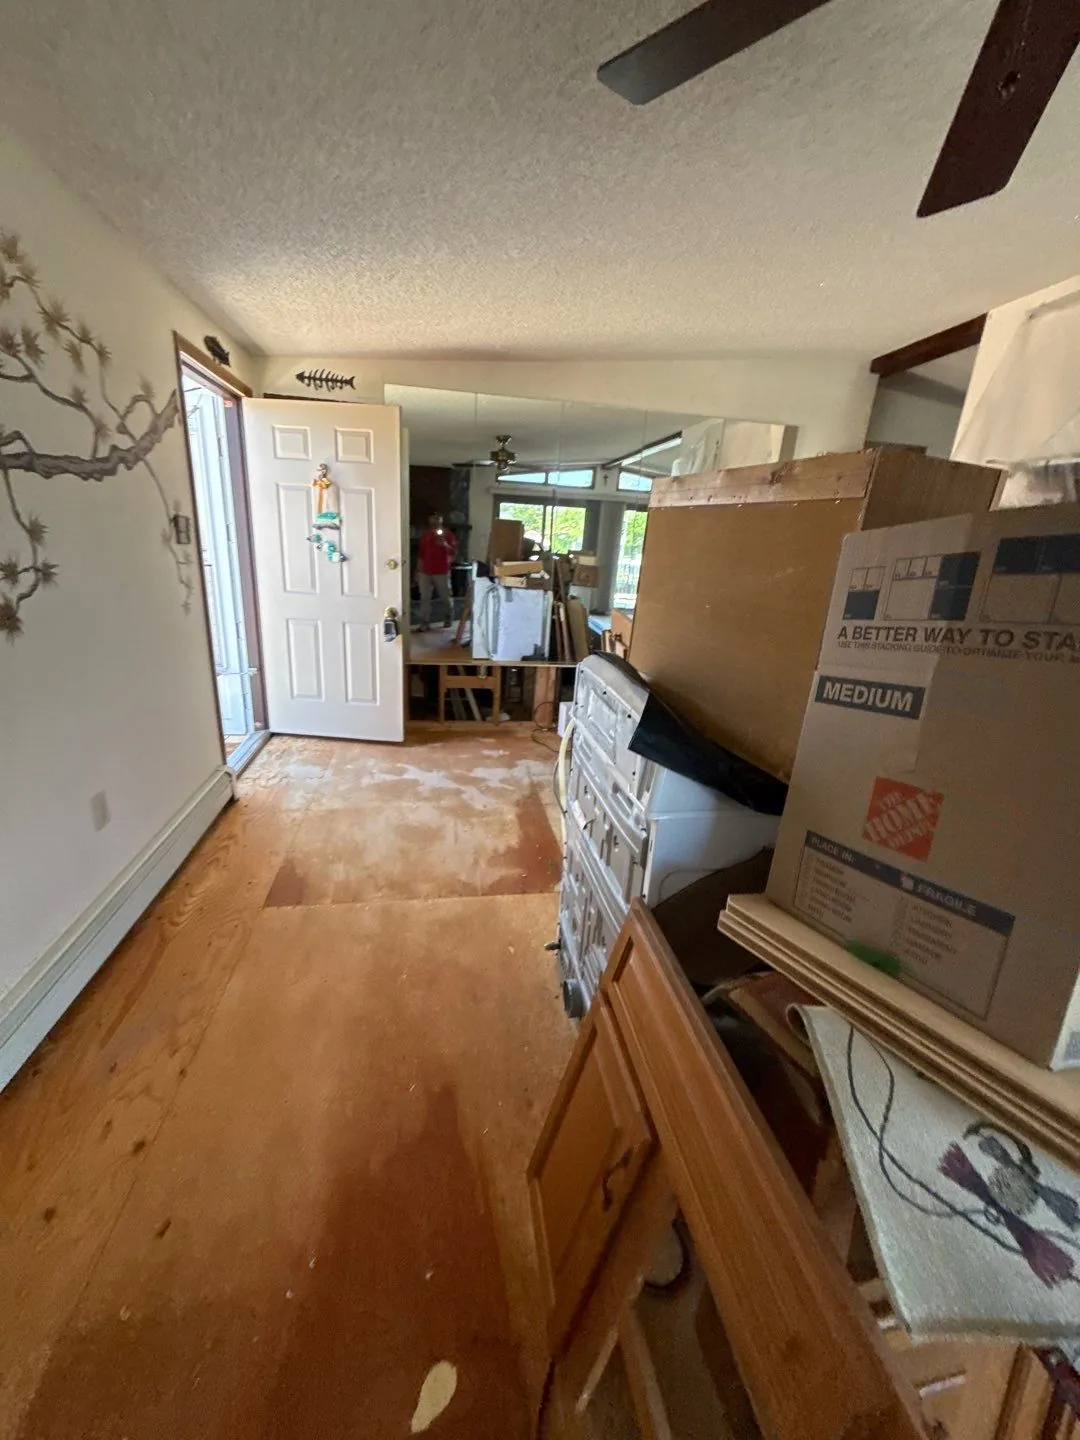
When a clean-water loss soaked the main living spaces of a Brick, New Jersey home, our South Jersey restoration team responded with a disciplined Category 1 water mitigation and controlled strip-out plan. Technicians extracted standing water directly from saturated plywood subfloors, executed precise flood cuts to expose wet stud cavities, and packed out the home’s furnishings and fragile decorative contents to shield them from secondary moisture damage.
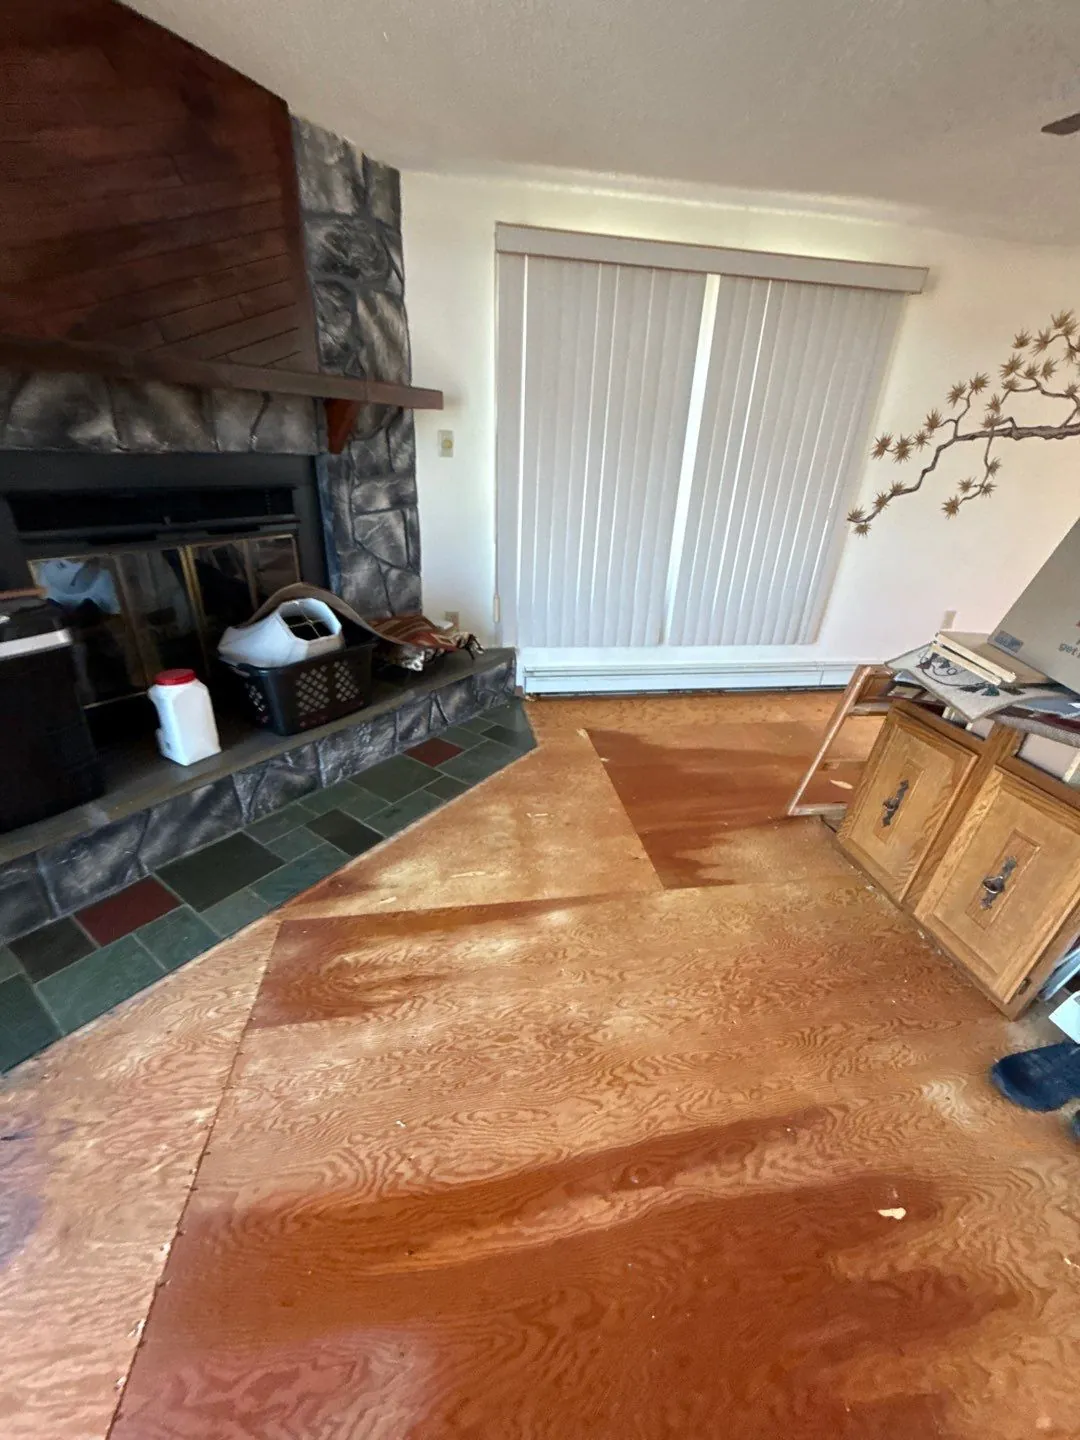
The real test on this project was the finish work already in the room: a multi-angled stone fireplace hearth and floor-to-ceiling mirrored wall systems that guided water in unexpected directions and made demolition unforgiving. By combining meticulous manual carpentry with an inventive drying strategy, the team dried saturated subflooring, wall plates, and open framing toward a stabilized standard below 10.8% moisture content — without demolishing the costly mirror installations.
Understanding the Incident
The Source: A Category 1 Clean Water Loss
The water affecting the main living spaces was classified as Category 1 (clean water) under the IICRC S500 standard. While Category 1 water carries the lowest contamination risk, it migrates fast — wicking into subflooring, drywall, and framing within hours and pooling wherever the floor elevation and finishes direct it. Left untreated, even clean water can degrade into a higher category and set the stage for mold growth inside enclosed wall cavities.
Affected materials spanned roughly 850 square feet of interior living area, including the plywood subfloor, the base of the drywall along structural walls, baseboards, and the stud cavities behind them.
“Clean water doesn’t stay clean. The longer it sits in subflooring and wall cavities, the faster a straightforward mitigation turns into a demolition and mold job.”
Property Assessment and Scope of Damage
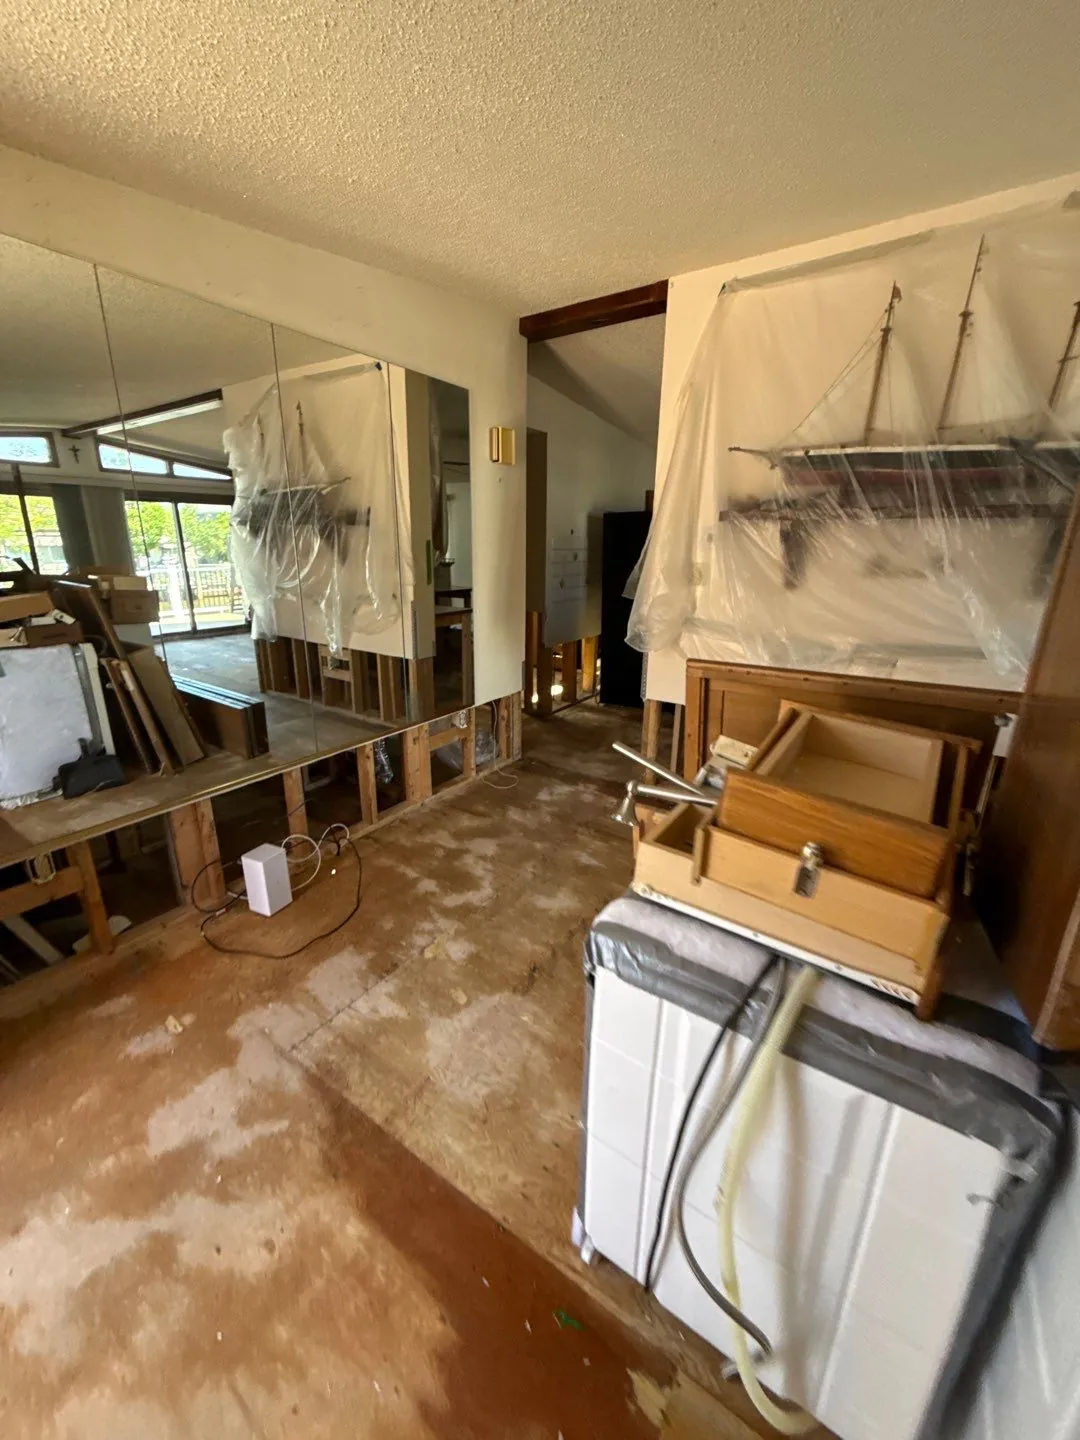
On arrival, technicians used non-invasive moisture meters and thermo-hygrometers to map saturation across the subfloor, lower wall assemblies, and framing. The water had traveled along a multi-angled stone fireplace hearth and the base of built-in mirrored wall systems, concentrating moisture in the plywood subfloor and the stud cavities behind the finished walls.
| Zone | Condition Found | Action Taken |
|---|---|---|
| Plywood subfloor | Saturated, standing water | Direct extraction with weighted floor tools |
| Baseboards | Wet at base | Detached to open wall cavity |
| Drywall (lower) | Wicking above the floor line | Controlled flood cut along structural walls |
| Stud cavities & wall plates | Elevated moisture | Targeted airflow + LGR dehumidification |
| Fragile contents | At risk from humidity | On-site isolation, wrapping & pack-out |
Response Strategy
The mitigation followed a proven sequence: remove the water, open the structure so trapped moisture can escape, protect and stage the contents, and establish an aggressive drying environment measured throughout. Because the affected room held high-value finishes and fragile decorative items, content protection ran in parallel with demolition rather than after it.
Working Around Delicate Finishes
Removing baseboards and executing precise lower wall cuts without fracturing floor-to-ceiling mirror panels required meticulous manual carpentry. High-value fragile contents — including a collection of delicate model ships — were isolated and wrapped on-site the moment work began, shielding them from the humidity spikes that accompany extraction and open-cavity drying.
An Air-Induction Loop Around the Mirrors
The problem: the entryway layout and subfloor elevation changes made air currents bounce off the mirrored partitions, stalling evaporation inside the framing.
The solution: technicians built an axial air-induction loop — angling low-profile air movers directly into the exposed wall cavities behind the mirrors while venting wet air toward an adjacent sliding glass door line. This accelerated framing evaporation without demolishing the costly mirror installations.
Equipment Deployment Analysis
A correctly matched extraction and drying system did the work here — proof that the right equipment in the right position beats simply adding more machines.
Industrial Wet/Dry Extraction Vacuums
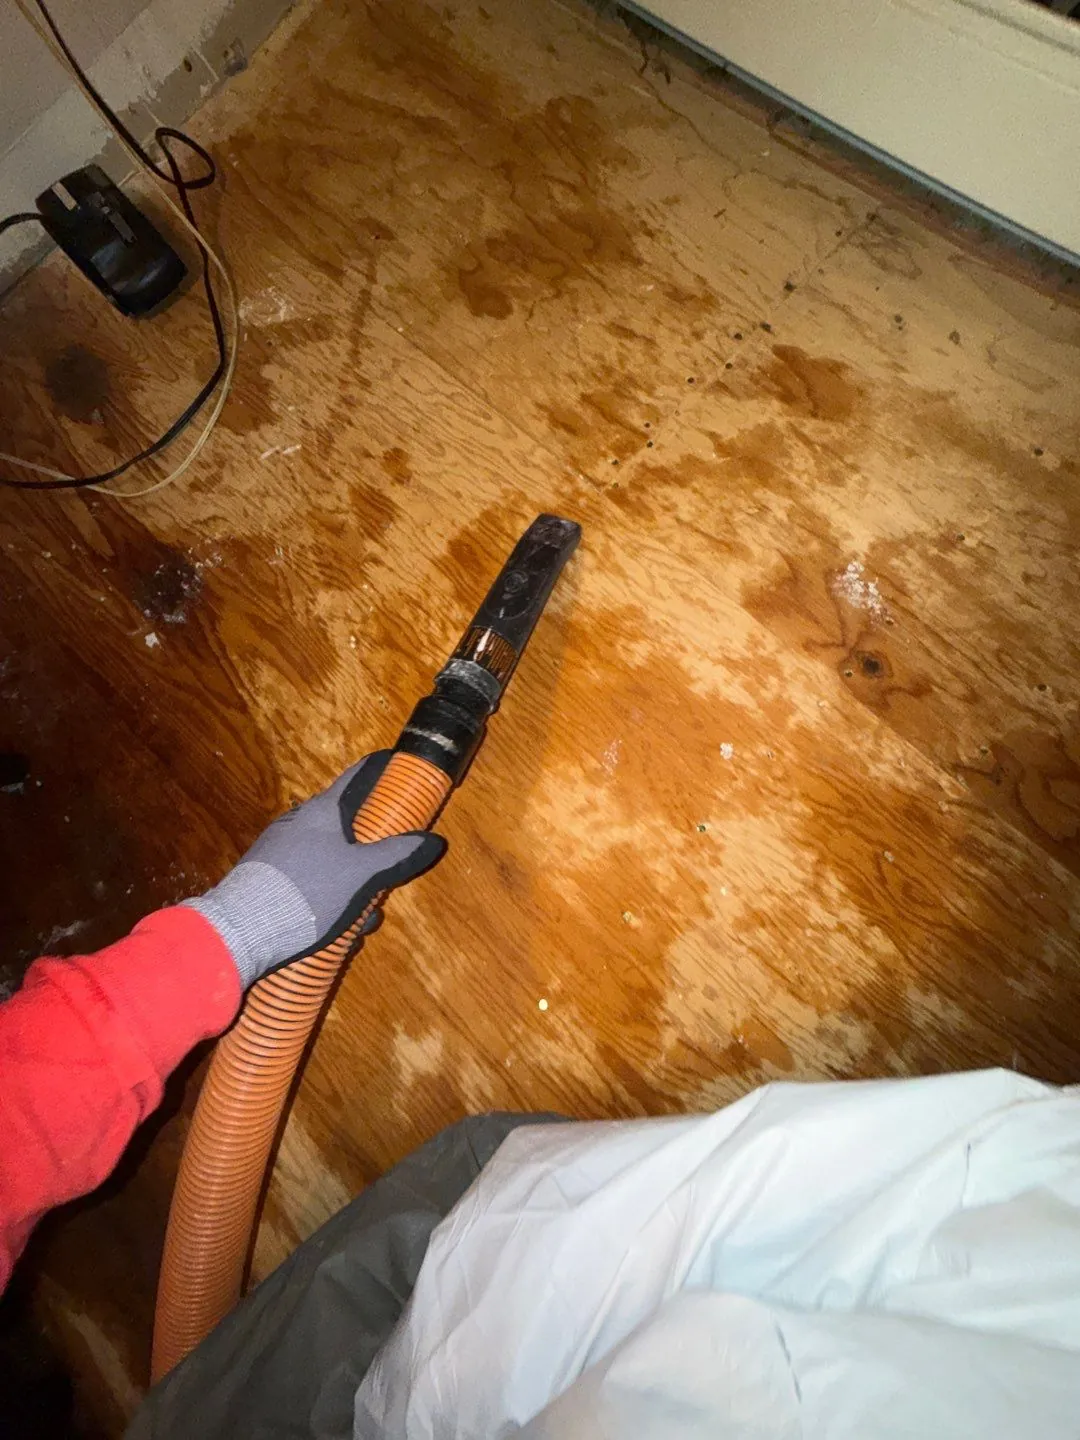
Commercial extraction hoses fitted with weighted floor tools pulled standing water directly from the saturated plywood subfloor, removing the bulk of the moisture before drying began.
LGR Dehumidifier
A wheeled, industrial Low-Grain Refrigerant dehumidifier pulled moisture from both the air and the structural materials, driving grains-per-pound down and protecting staged contents from humidity spikes.
High-Velocity Air Movers
Low-profile centrifugal and axial air movers directed airflow across the exposed subfloor and into the opened wall cavities behind the mirrors, forming the air-induction loop that accelerated framing evaporation.
Non-Invasive Moisture Meters & Thermo-Hygrometers
Used for initial mapping and ongoing monitoring of the subfloor, wall plates, and framing, confirming objective progress toward the stabilized dry standard.
Drying Progress: Structural Moisture Content
Moisture content in the plywood subfloor, wall plates, and structural timber was tracked continuously with non-invasive meters until every material stabilized below the 10.8% dry-standard target.
Restoration Timeline and Methodology
Why This Approach Worked
Content protection ran in parallel: fragile, high-value items were isolated and wrapped the moment work began, not after — shielding them from the humidity spikes that come with extraction and open-cavity drying.
Airflow engineered around the finishes: the axial air-induction loop reached the framing behind the mirrored walls without demolishing them, saving costly installations while still drying the structure to standard.
Project Documentation Gallery


Water Damage Response Across South Jersey
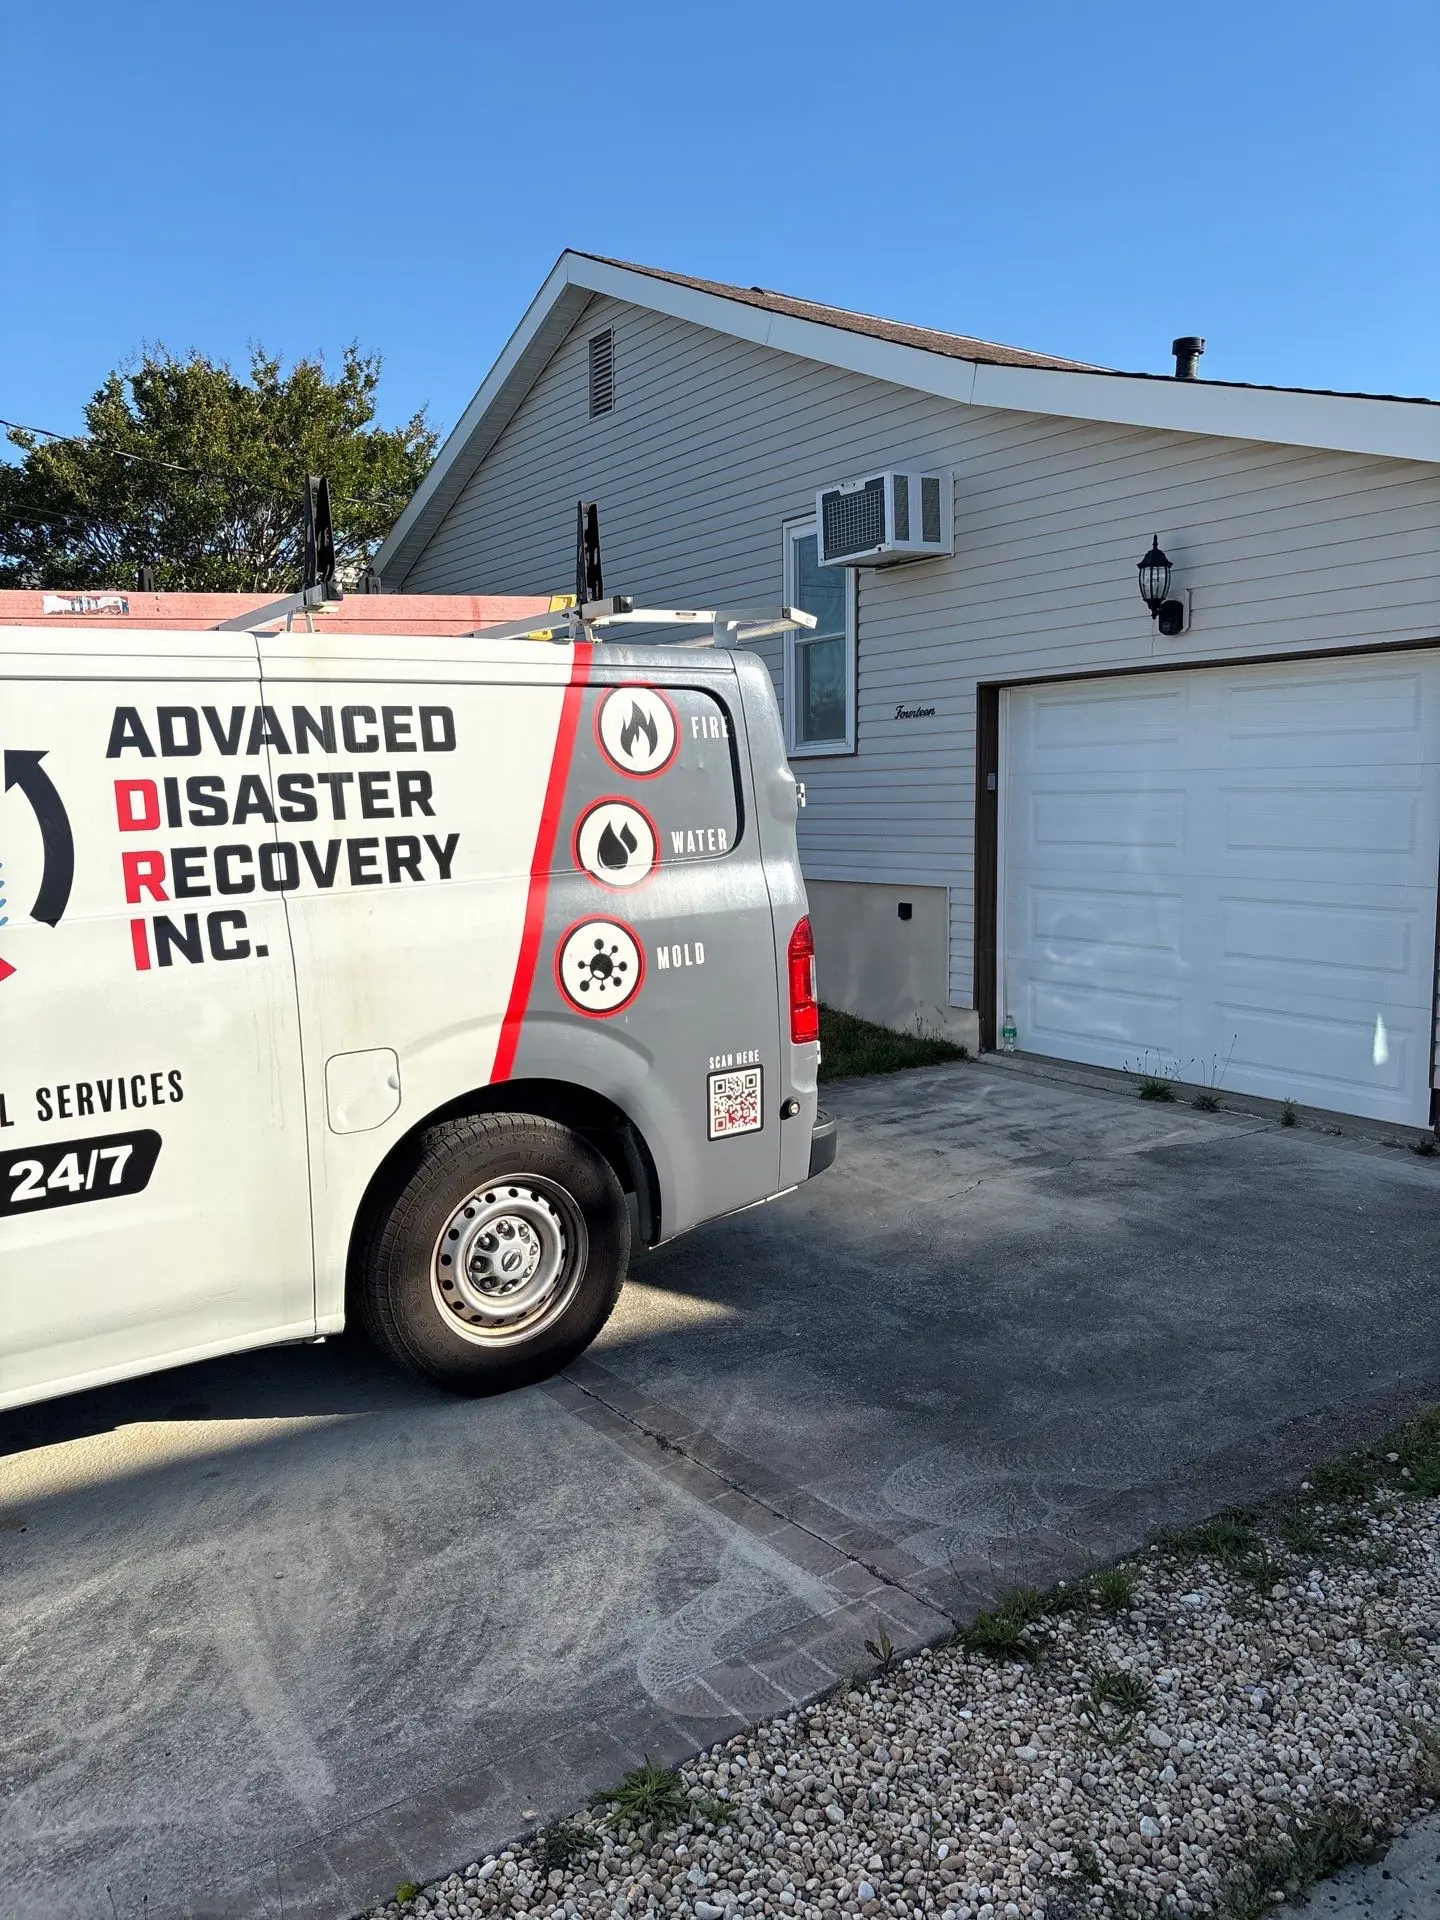
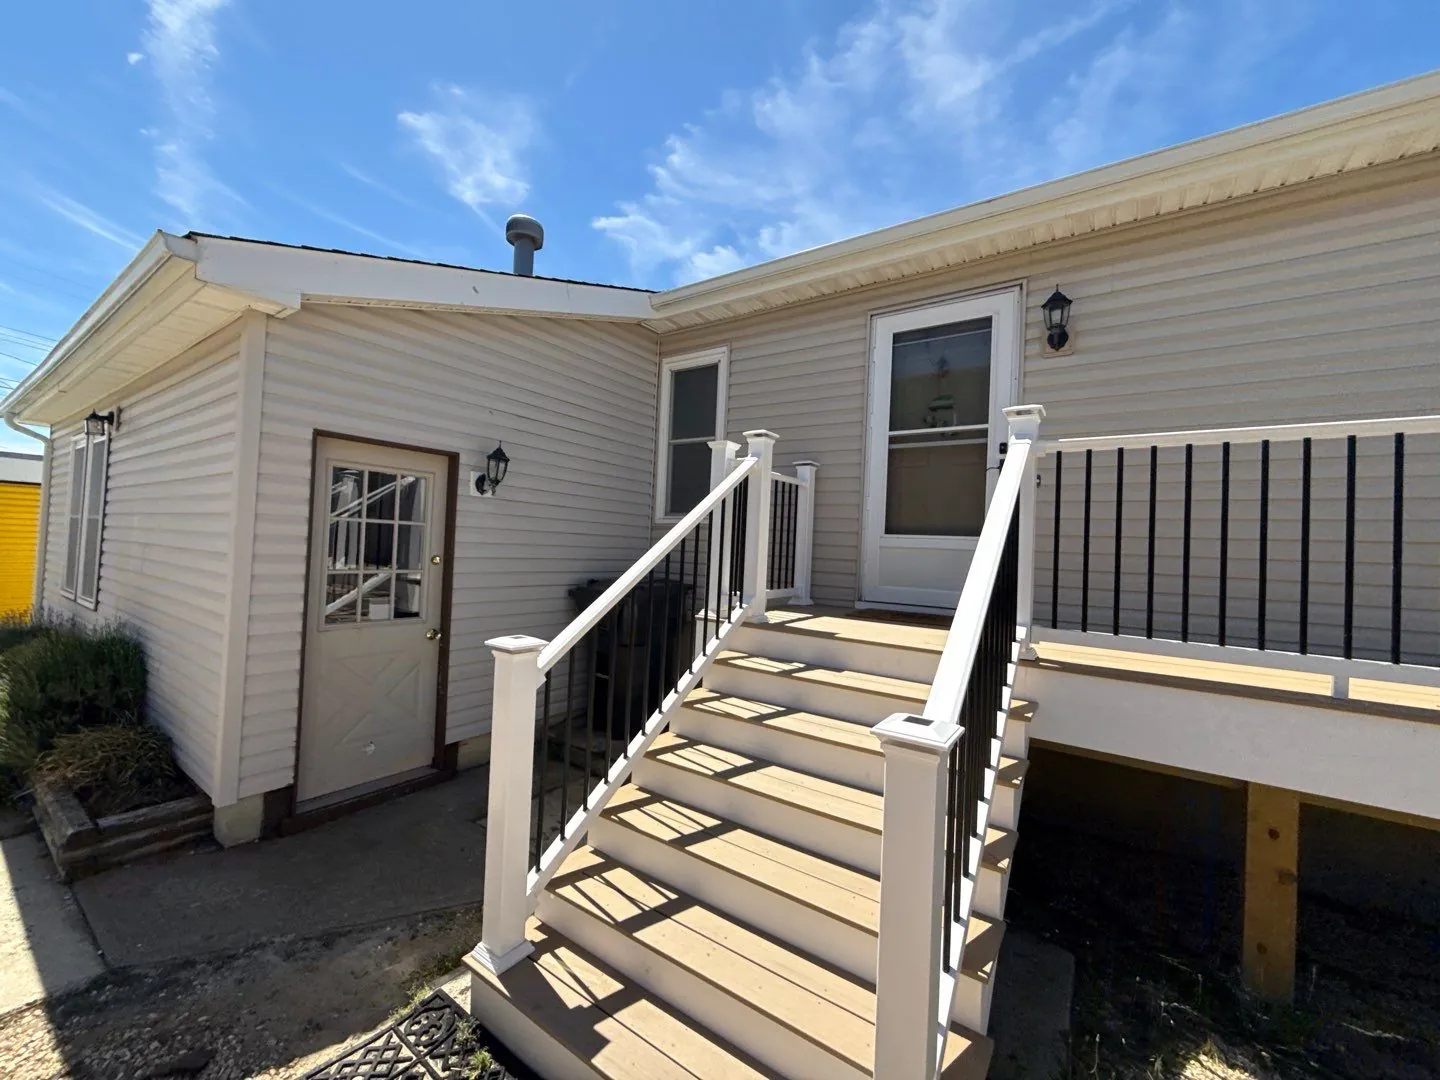
Brick sits in Ocean County — Toms River’s home county — where Advanced DRI is based. Our South Jersey team provides 24/7 water damage mitigation throughout Ocean, Monmouth, Burlington, Atlantic, and Cape May counties, with local crews ready to respond to residential water losses.
Why Local Response Matters
Residential water losses are among the most common claims in the region. Because clean water can begin breaking down into a contaminated category within 24–48 hours, a fast, local response is the single biggest factor in keeping a project a controlled mitigation and strip-out rather than a full remediation and rebuild.
Key Takeaways
A Category 1 water loss across 850 square feet of living space in Brick was managed with disciplined extraction, a controlled strip-out around delicate finishes, parallel content protection, and an engineered drying loop. Saturated subflooring, wall plates, and structural timber were brought to a stabilized standard below 10.8% moisture content — cavities verified dry, sanitized, and ready for reconstruction finishes, with the home’s fragile contents saved.
Water damage in your home? Advanced DRI’s South Jersey team is available 24/7. Call (732) 228-7582 for emergency water mitigation in Brick and communities across Ocean County and South Jersey.